- Preparation time
- 30 mins
- Cooking time
- 45 mins
- Difficulty
- easy
- Serves
- 6 people
- Meal course
- Lunch
- Posted by
- Posted on
- March 17, 2016
- 300 Grams
- Leeks
- 300 Grams
- Mushrooms
- 300 Grams
- Carrots
- 100 Grams
- Frozen Peas
- 100 Grams
- Frozen Corn
- 250 mililiter
- coconut cream
- 1/2 tsp
- Dried Sage
- 1/2 tsp
- Dried Parsley
- 500 mililiter
- Unsweetened Soy milk
- 1 tbsp
- Massel Chicken style Stock Powder (vegan)
- 3 tsp
- Potato Starch
- 2 tsp
- corn starch
- 3 tbsp
- Unsweetened Soy milk
- 700 Grams
- Ready made Puff Pastry
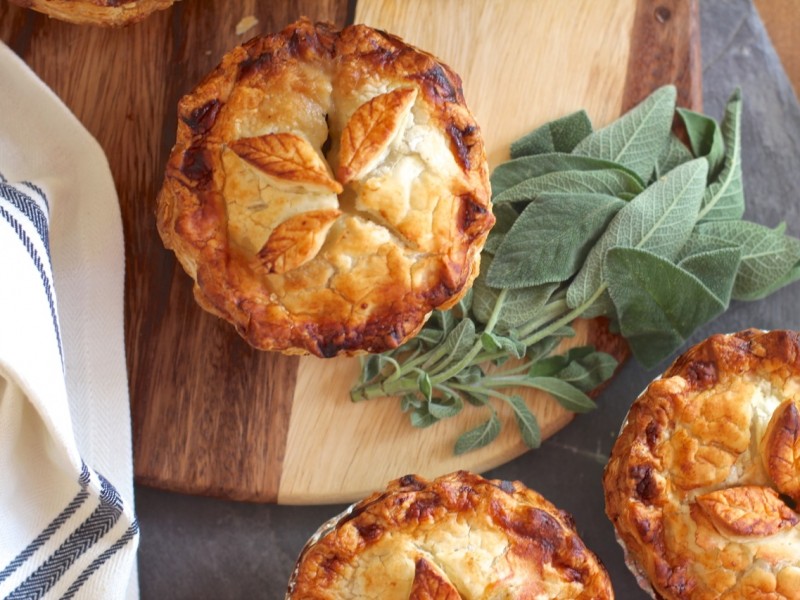
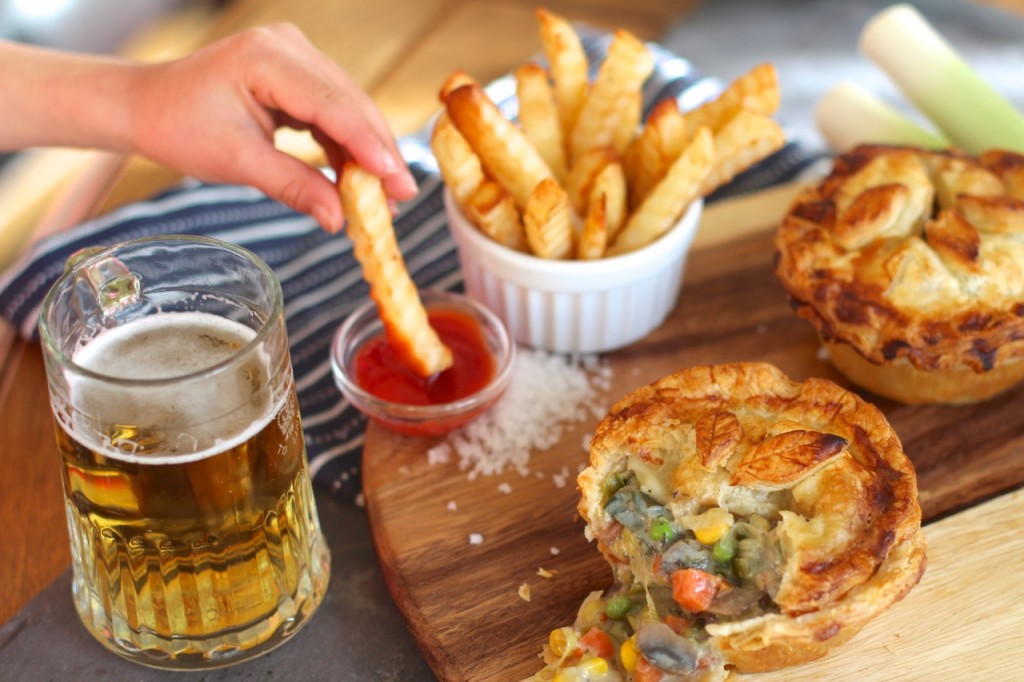
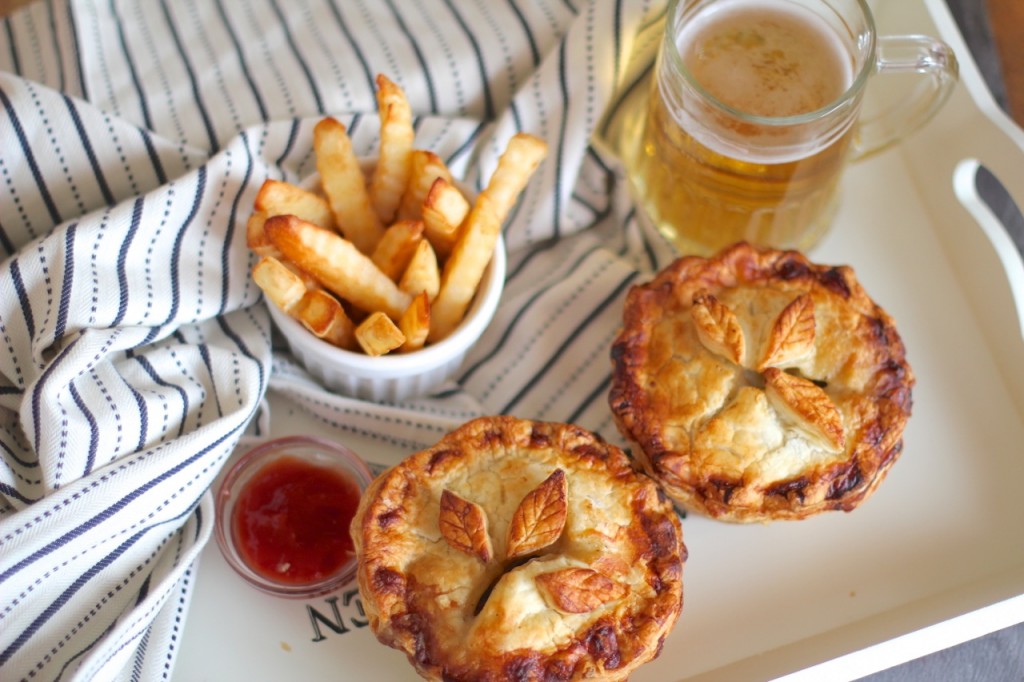
These pretty little pies have enough class to be plated up nicely alongside grilled Asparagus and some other posh veg for a nice dinner, or just served with a beer and chips!
They are easy to make too, and can be frozen, then cooked from frozen, which is handy if you want to make a batch for later.
You can also make these with a short crust pastry if you’d like, or even use the filling to fill Vol-au-vents etc.
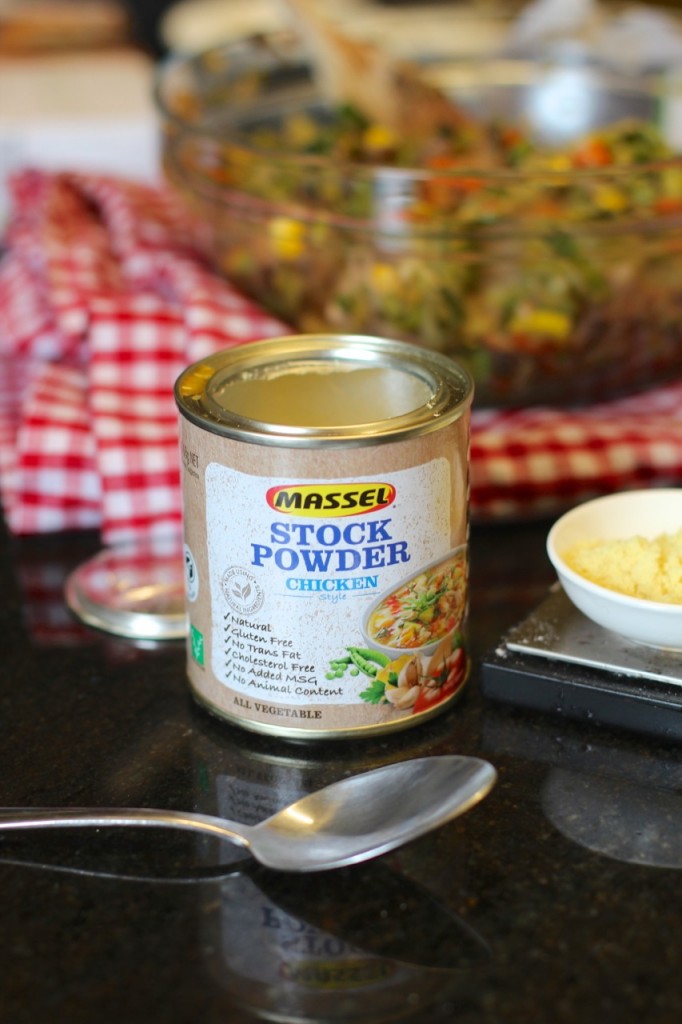
The recipe calls for Massel ‘Chicken style’ (VEGAN) stock powder.
All the stocks are Vegan and Gluten FREE!
Ofcourse, you can use whatever stock you prefer, but the taste of this pie is greatly enhanced by the Massel stock!
They also do a ‘Beef style’ (VEGAN) stock, along with a vegetable stock, and “7’s,” which are stock cubes in a stick , and are onion and garlic free.
They are widely available in Australia and can be bought on Amazon in both the USA and the UK now,
Links here: (USA) Massel Gluten-Free, Salt Reduced All Purpose Bouillon & Seasoning Granules, Chicken Style, 4.2-Ounce (Pack of 6) Or Garlic and Onion Free ‘Chicken style” 7’s Massel Bouillon Cube, Chicken 1.23 OZ(Pack of 6)
(UK) Massel All Natural No MSG Bouillon Stock Powder Chicken Flavour 168 g (Pack of 3)
Or, Garlic and Onion Free ‘Chicken style” 7’s Massel 7’s Chicken Style Stock Cubes 35g (Pack of 10) – ONION & GARLIC FREE
Thankfully, I can now get these again, as they make all the difference to the taste of the food…once you have tried this stock, you will never want to use any other…!
I hope you enjoy eating these Creamy Vegetable Pot Pies as much as we do- they are truly delicious!
Please also come and join our FACEBOOK GROUP https://www.facebook.com/groups/Plantified/ and post some of your favourite recipes, ask some questions, show off a dish you’ve cooked or just have a chat! We have some amazing cooks in the group with fantastic ideas to share!
My Plantified Mousses Recipe book is on it’s way to being finished, and you will receive an email letting you know when your FREE copy of the E-book is ready to download!
If you would like a free copy of my upcoming E-book, and haven’t yet signed up to Plantified, please sign up here: http://plantified.com/register/ and you will also receive a FREE recipe book once it is released.
(The only information that is required to register is a Email address, and a Username of your choice. If you do not receive the confirmation email after signup, please check your junk mail box. Any problems, please contact us.)
Raspberry Mousse Imprime Entremet, as seen in the Free Mousse E-book for members of Plantified.

Featured in the Plantified Mousses E-book .
If you would like a FREE COPY ,sign up to www.plantified.com
Creamy Vegetable Pot Pies
You will need either: round disposable pie tins or Re-usable individual serve size pie tins.
(Makes 6)
Ingredients:
300 gm Thinly sliced Leeks
300 gm Mushrooms, sliced
300 gm Diced Carrots
100 gm Peas
100 gm Corn
Sauce:
250 ml Coconut cream
½ tsp dried Sage
½ tsp Dried Parsley
500 ml Unsweetened Soymilk
1 flat tbsp (12.8 gm) Massel Chicken style Stock powder (vegan)
To thicken:
3 tsp Potato Starch (5.2 gm)
2 tsp Corn Starch (8.2 gm)
Mixed with 3 tbsp soy milk
Ready made Puff pastry 2 x 320gm sheets
Method:
- Take your pre rolled Puff pastry out of the fridge to warm up, so that is is soft and pliable when you are ready to cut it out and shape it.
- Thinly slice the leeks and fry in a pan until soft then set aside in a bowl.
- Pan fry the mushrooms and then set side also.
As it thickens towards the end, add the bowl full of vegetables and mix together. - In a saucepan of boiling water, soften the diced carrots, and then add the frozen peas and carrots and lightly cook.
Do not over cook as they will also be cooked in the pie later.
Once cooked, mix into the other vegetables in the bowl. - To make the creamy sauce, add 500 ml of Unsweetened soymilk to a saucepan.
Mix the starches into the 3 tbsp of soymilk in a small bowl then add to the soymilk in the saucepan and whisk to combine.
Add the dried herbs and massel stock at this point also. - Turn on the heat and begin to cook the sauce.
Once it becomes warm, add the coconut cream and whisk to combine.
Bring to the boil then turn down to a low simmer and continue to stir as it thickens.
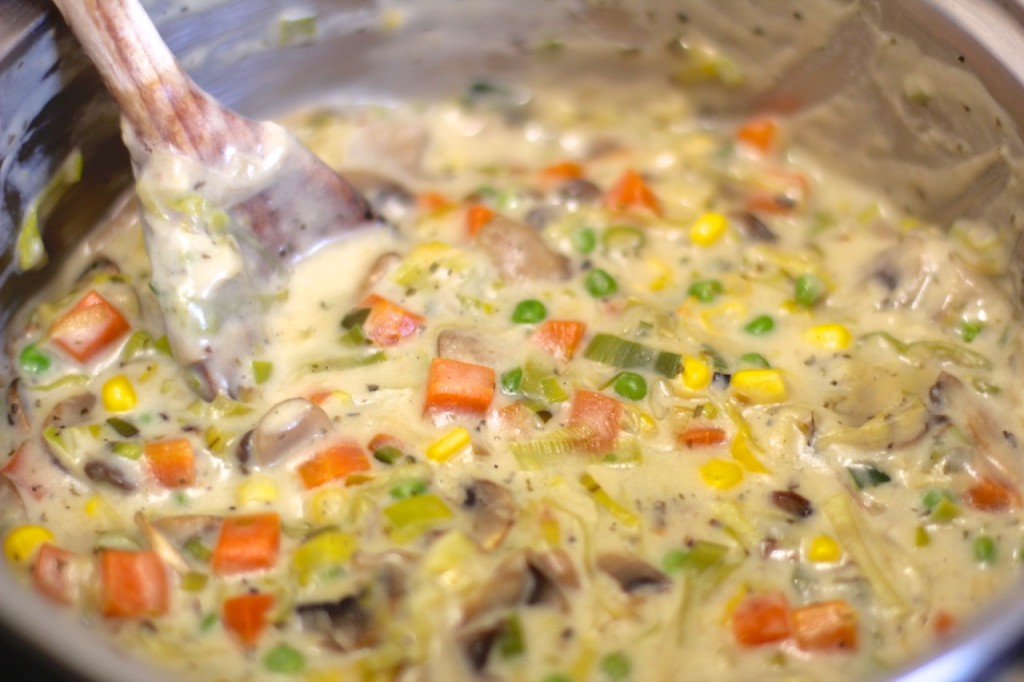
We are looking for a nice gravy type consistency- not too runny or it will seep out of the pie when cut, and not too thick, or it will be stodgy. - As it thickens towards the end, add the bowl full of vegetables and mix together.
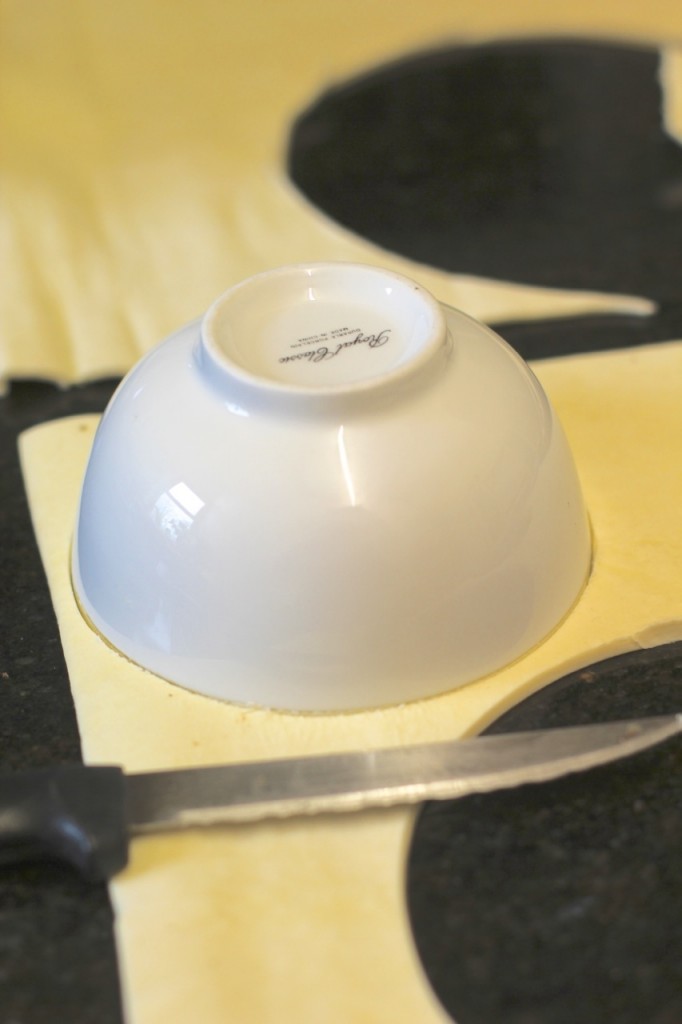
- Once the Pastry is pliable enough, find a bowl or round tin that is approx 2cm bigger than the diametre of the top of the pie dish, so that you can use it to cut out the pastry rounds.
Make sure you look at your pastry sheets carefully before you go cutting all over the place to make sure that you will be able to space them ,so as to fit all the cuts out,if you can, without having to re-roll the left over pieces. - Cut out 6 rounds and shape them into the pie tins.
- Fill each pie with filling level to the top.
Don’t over fill it, as the mixture will boil out of the pie and make a mess if you do. - To cut out the pie tops , look at the size of the top of the tin, and find something to use as a cutter that matches it.
Cut out 6 pie tops. - Brush the edge of the pie with either soymilk or aquafaba before adding the top, so it sticks well.
- Trim off any spare pastry, making sure you leave enough to crimp the pie edges.
- To crimp the pie edges, push your index finger on the inner top edge of the pie, and bring the index finger and thumb of your opposing hand from the outer edge to psh up the edge around your finger, and then move along and repeat.
This creates that pretty scalloped pattern.
Don’t worry, if you’re not that good at it, because the puff pastry has a mind of its own anyway, and will rise and change that pretty pattern you worked so hard on!
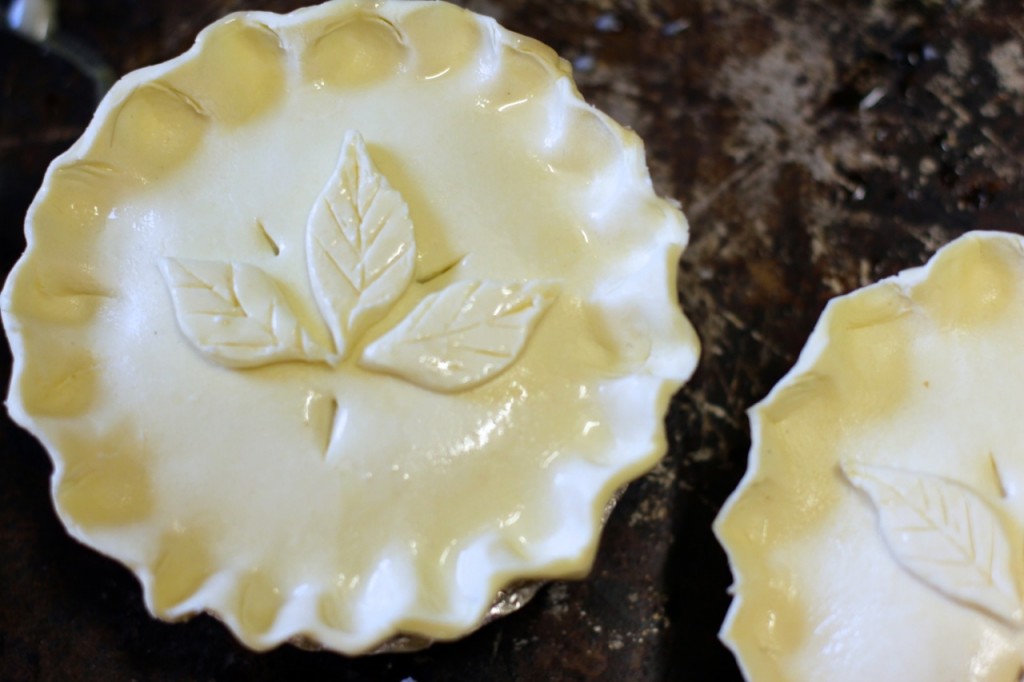
The good thing is, the puff pastry disguises any mistakes! - Once you have crimped the edges, cut out some pretty little leaves, or any other shape that takes your fancy and decorate your pies!Make sure to make a few little slits for steam holes so the pie doesn’t blow its’ top!
- Before sticking your decorations on, brush the top of each pie with some soymilk or some Aqua faba which will brown it nicely and also help the leaves stick.
- Once the pies are assembled, it’s time to bake them.
Place the pies on an oven sheet and place in a pre-heated oven.
We have a fan forced oven, and I baked them at 180 c .
If you have a traditional oven, you may want to bake at 220 c. - I froze my pies and then baked them from frozen!
They took approximately 45 mins to cook .
If you are cooking from freshly made, not frozen, then they may not take as long. - Your pie should brown nicely, and you will be able to tell when it is ready, as the pastry lining the INSIDE of the tin will look nicely cooked when you lift it out of the tin to check.
If it still looks soggy, it is not ready.
Do NOT take it out of the pie tin to brown the sides, if the pastry is soggy or you will end up with a collapsing pie.
Instead, if you are worried about over browning the top, whilst waiting for the sides to brown, you can place some foil over the top to stop the top browning any further.
-You can also make these with a short crust pastry if you’d like, or even use the filling to fill Vol-au-vents etc.
- Take your pre rolled Puff pastry out of the fridge to warm up, so that is is soft and pliable when you are ready to cut it out and shape it.
- Thinly slice the leeks and fry in a pan until soft then set aside in a bowl.
- Pan fry the mushrooms and then set side also.
- In a saucepan of boiling water, soften the diced carrots, and then add the frozen peas and carrots and lightly cook. Do not over cook as they will also be cooked in the pie later. Once cooked, mix into the other vegetables in the bowl.
- To make the creamy sauce, add 500 ml of Unsweetened soymilk to a saucepan. Mix the starches into the 3 tbsp of soymilk in a small bowl then add to the soymilk in the saucepan and whisk to combine. Add the dried herbs and massel stock at this point also.
- Turn on the heat and begin to cook the sauce. Once it becomes warm, add the coconut cream and whisk to combine. Bring to the boil then turn down to a low simmer and continue to stir as it thickens. We are looking for a nice gravy type consistency- not too runny or it will seep out of the pie when cut, and not too thick, or it will be stodgy.
- As it thickens towards the end, add the bowl full of vegetables and mix together.
- Once the Pastry is pliable enough, find a bowl or round tin that is approx 2cm bigger than the diametre of the top of the pie dish, so that you can use it to cut out the pastry rounds. Make sure you look at your pastry sheets carefully before you go cutting all over the place to make sure that you will be able to space them ,so as to fit all the cuts out,if you can, without having to re-roll the left over pieces.
- Cut out 6 rounds and shape them into the pie tins.
- Fill each pie with filling level to the top. Don’t over fill it, as the mixture will boil out of the pie and make a mess if you do.
- To cut out the pie tops , look at the size of the top of the tin, and find something to use as a cutter that matches it. Cut out 6 pie tops.
- Brush the edge of the pie with either soymilk or aquafaba before adding the top, so it sticks well. Trim off any spare pastry, making sure you leave enough to crimp the pie edges.
- To crimp the pie edges, push your index finger on the inner top edge of the pie, and bring the index finger and thumb of your opposing hand from the outer edge to push up the edge around your finger, and then move along and repeat. This creates that pretty scalloped pattern. Don’t worry, if you’re not that good at it, because the puff pastry has a mind of its own anyway, and will rise and change that pretty pattern you worked so hard on! The good thing is, the puff pastry disguises any mistakes!
- Once you have crimped the edges, cut out some pretty little leaves, or any other shape that takes your fancy and decorate your pies! Make sure to make a few little slits for steam holes so the pie doesn’t blow its’ top! Before sticking your decorations on, brush the top of each pie with some soymilk or some Aqua faba which will brown it nicely and also help the leaves stick.
- Once the pies are assembled, it’s time to bake them. Place the pies on an oven sheet and place in a pre-heated oven. We have a fan forced oven, and I baked them at 180 c . If you have a traditional oven, you may want to bake at 220 c. I froze my pies and then baked them from frozen! They took approximately 45 mins to cook . If you are cooking from freshly made, not frozen, then they may not take as long.
- Your pie should brown nicely, and you will be able to tell when it is ready, as the pastry lining the INSIDE of the tin will look nicely cooked when you lift it out of the tin to check. If it still looks soggy, it is not ready. Do NOT take it out of the pie tin to brown the sides, if the pastry is soggy or you will end up with a collapsing pie. Instead, if you are worried about over browning the top, whilst waiting for the sides to brown, you can place some foil over the top to stop the top browning any further.
- You can also make these with a short crust pastry if you’d like, or even use the filling to fill Vol-au-vents etc.




No comments yet, be the first to leave one!