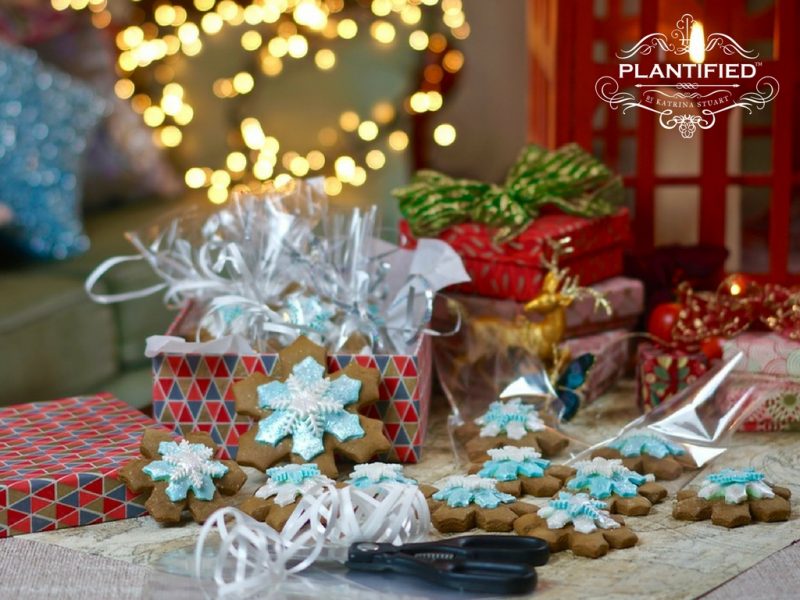
Gingerbread is a great favourite at Christmas!
I love to make these and package up as little gifts to give to neighbours and friends.
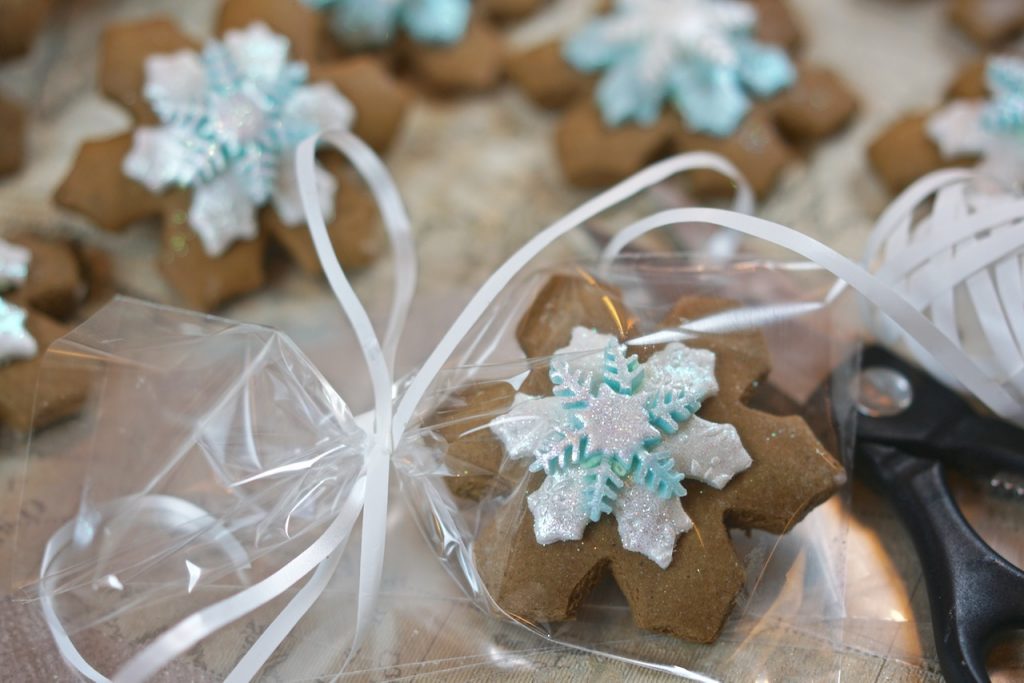
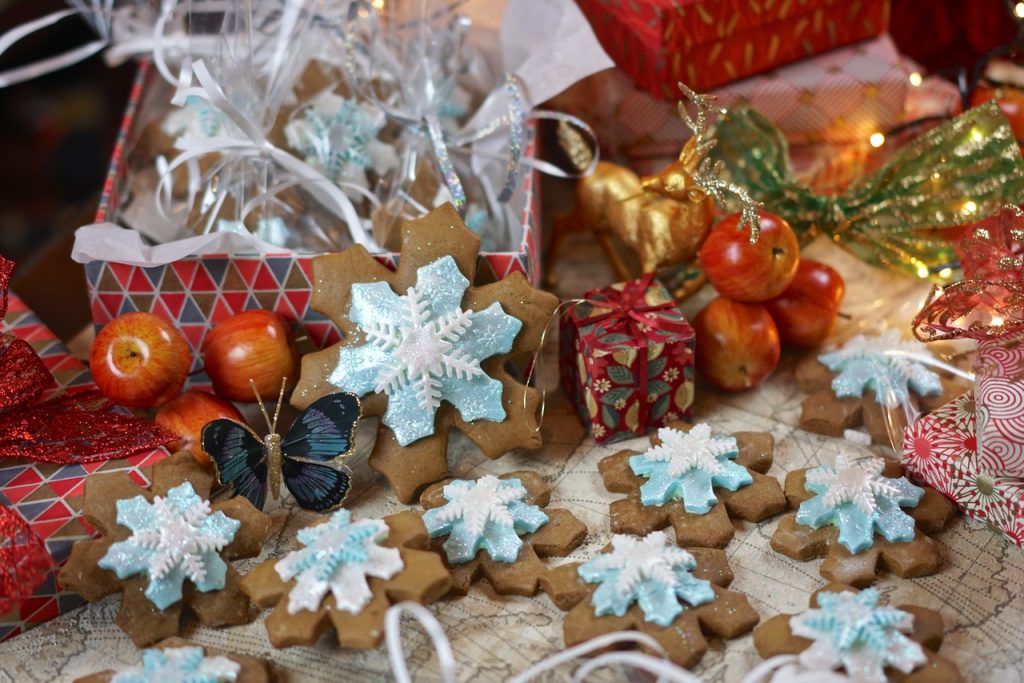
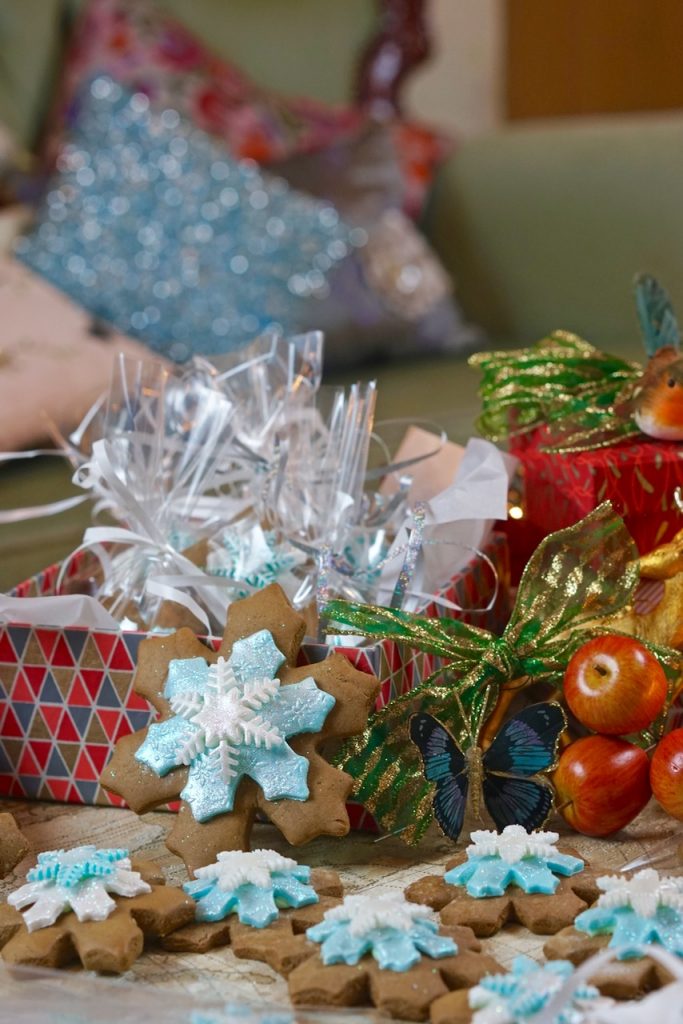
Packaged into a little cellophane bag and tied with ribbon, and finished with a little gift tag, they look impressive and are a lovely home made treat!
This Gingerbread recipe is my own recipe, using Aqua Faba (The liquid from a can of Chickpeas or Butterbeans!) as an Egg replacer and spiced to my own taste!
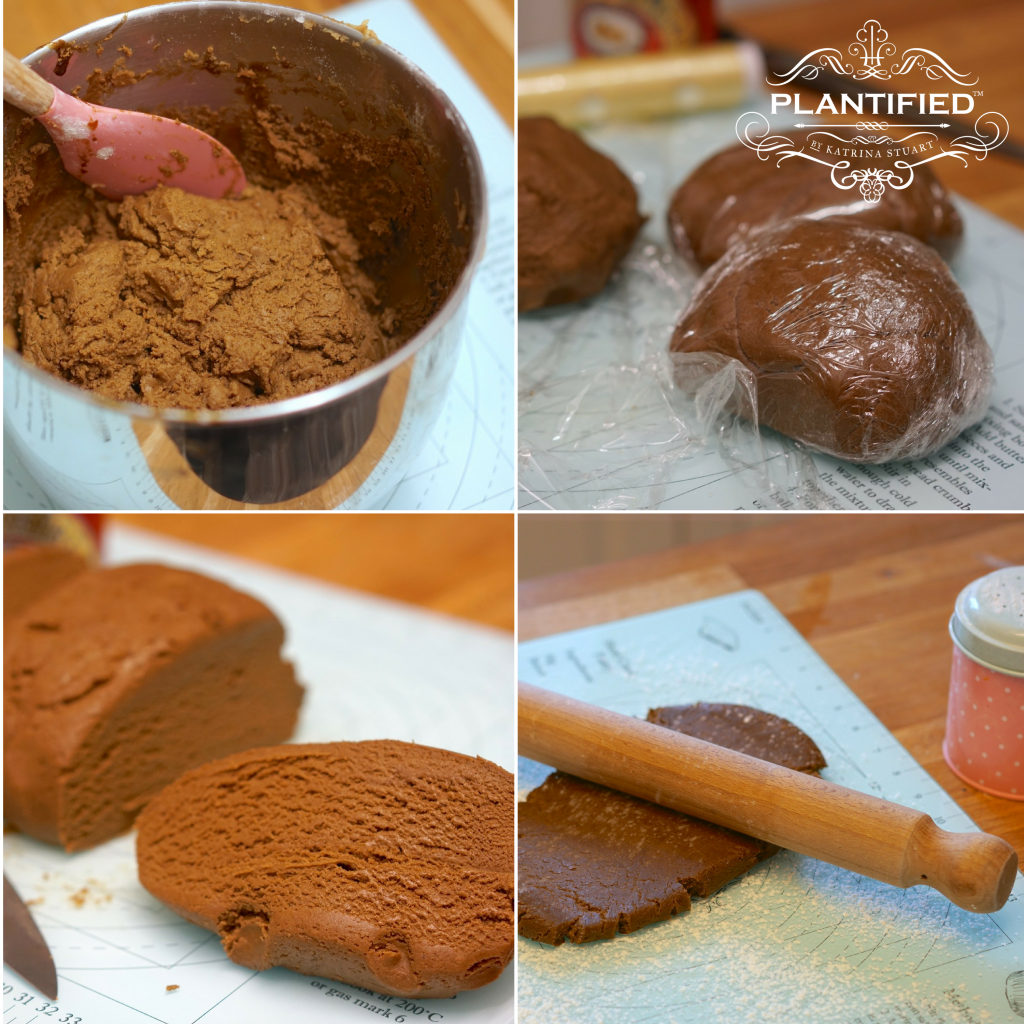
It is nicely spiced and the resulting dough has the most wonderful texture!
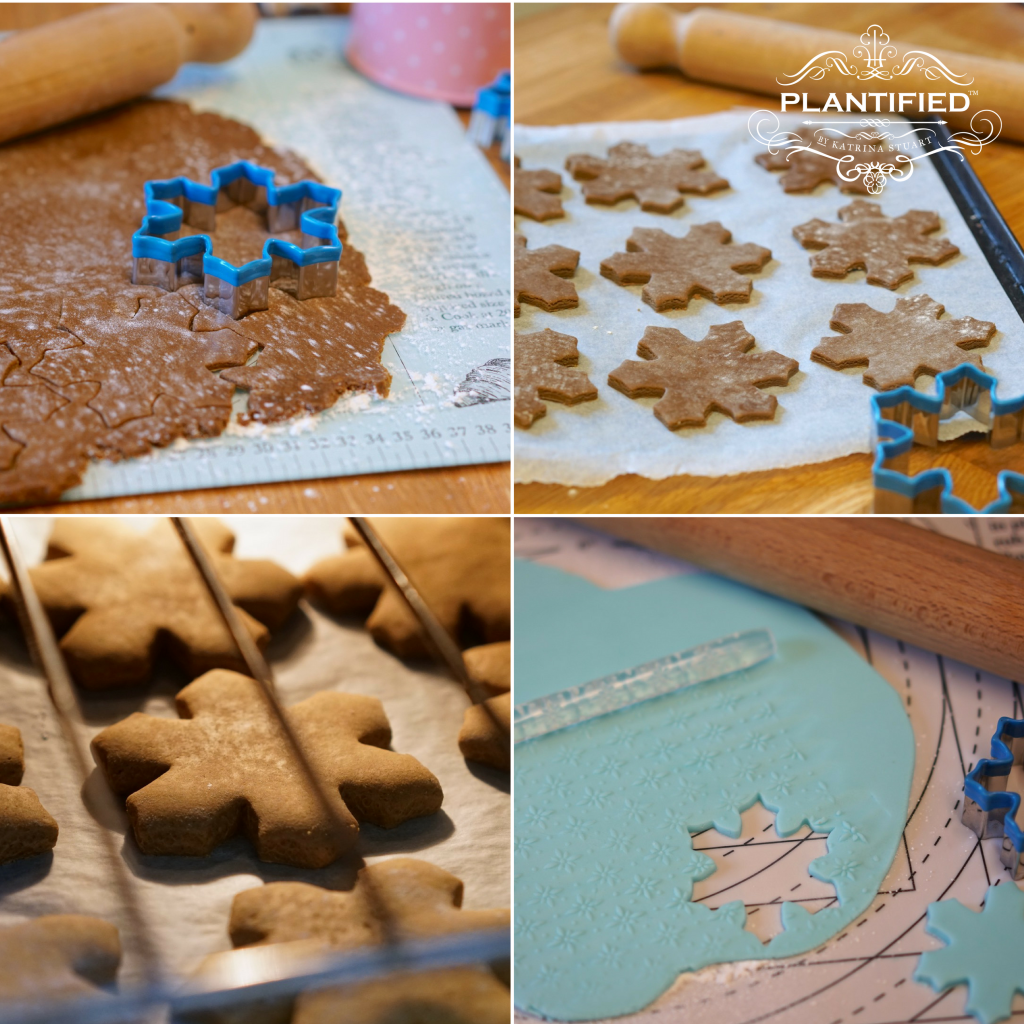
Just look at the texture of the dough below!
Even though these look quite complicated, they are in fact quite fun and easy to make!
Give them a go, and see how tasty they are.
If you would like a FREE COPY OF THE RECIPE E-BOOK, and haven’t yet signed up to Plantified, please sign up here and you will receive your FREE recipe book once it is released.
Raspberry Mousse Imprime Entremet, as seen in the Free Mousse E-book for members of Plantified.
Enjoy
xxx
Katrina
Please come and join our FACEBOOK GROUP and post some of your favourite recipes, ask some questions, show off a dish you’ve cooked or just have a chat!
Plantified Aquafaba Gingerbread Snowflakes
(Makes approx 16 – 3 ½ inch / 9cm Snowflake cookies)
Ingredients:
70 grams Light Brown Sugar
25 grams Vegan Butter
115 grams Black Treacle (or Molasses)
65 grams Aqua Faba (Liquid from a can of Butterbeans or Chickpeas)
330 grams Plain Flour
5 grams Bi-carbonate Soda (Baking Soda)
0.6 grams Ground Ginger
0.6 grams Ground Cloves
0.6 grams Allspice
0.85 grams Salt
2 grams Cinnamon
Fondant Icing Snowflakes:
250 grams Ready Made Fondant Icing
Blue Gel Colour
Silver Shimmer Spray
Rainbow Dust Glitter
***Tylose or CMC Powder to harden if packaging the cookies.
Creme Icing:
30 grams Vegan Butter
80 grams Icing Sugar
5 grams Vanilla Extract
Drop of flavouring (Peppermint, orange etc)
Touch of colouring.
Method:
-Weigh out and add the Vegan Butter to the mixer bowl and cream the butter.
-Add the Light Brown Sugar.
-Add the Treacle (or Molasses).
( Don’t be stupid like I was and try to drizzle it into the mixer bowl as it’s beating!
It will catch the balloon whisk and climb up into the mechanism and there’ll be lots of F’ing and blinding while you have to stop and clean it all up!
So,turn off the mixer, add it to the bowl and then mix in. 🙂 Trust me! )
-Once combined, add the Aquafaba and mix together. (Liquid from a can of Butterbeans or Chickpeas)
It will make a brown soupy mess!
-Weigh out the dry ingredients in a separate bowl and mix together to combine.
-Add the dry ingredients about a third at a time until it is all in the bowl.
At this point I took off my Balloon Whisk, and used the K paddle as the dough will get stiff.
The Dough should come together, and feel squishy but drier to the touch, not sticky.
It should form a nice ball when you roll it.
If it is too dry and crumbly add the tiniest bit more Aquafaba until it is perfect.
-Take your dough and turn it out onto a matt.
-Knead it until it comes together in a smooth ball, and then cut into equal thirds, and wrap in Plastic wrap.
-Chill for a few hours to firm up, so it rolls out nicely.
Baking:
-Heat the oven to 180c
-Lightly dust the work top surface with flour to roll out the Gingerbread Dough.
-Dust the surface of the dough lightly before rolling out with a rolling pin to approx 3mm in thickness.
-Taking your round,scalloped edged cutter, cut out all the biscuits and place them on parchment paper on a tray.
-Re-roll any scraps to get another round of Biscuits cut out.
-Bake for approx 8-10 mins and keep an eye on them so they don’t over bake.
-They will rise nicely, do not let them get brown, or they will be over baked.
-They will firm up more as they cool down.
Fondant Icing Snowflakes:
-Measure out 250 grams of Ready Made Fondant Icing.
-Knead the Icing until it is soft and Pliable.
-If you want to colour your icing, Divide the icing in half and add a dab of Colour gel and massage it in once soft until completely mixed in.
-Dust your work surface with Icing sugar lightly so it doesn’t stick as you roll it out.
-Roll out the first colour of Icing into a smooth piece approx 2 mm thick.
-If you want to add a pattern texture,roll out the icing to 3mm thick and then roll over with your texture roller.
-Take your cutter and cut out your large fondant snowflakes, 8 of each colour.
-Place them on parchment paper and set aside.
-Repeat with the second colour.
Decorative Snowflakes:
-Take the remaining icing in each colour and again roll out to approx 2 mm thick
If you are going to bag your cookies, you will need to add Tylose or CMC Powder to the icing to stiffen and harden it, or the Snowflakes will break in the bag.
If you are not going to package them, and just serve on a plate, they will be fine if you are gentle with them.
-If Using CMC or Tylose to harden it, take a small amount of powder, and knead into the Icing before cutting out the shapes and work fairly quickly before it sets!
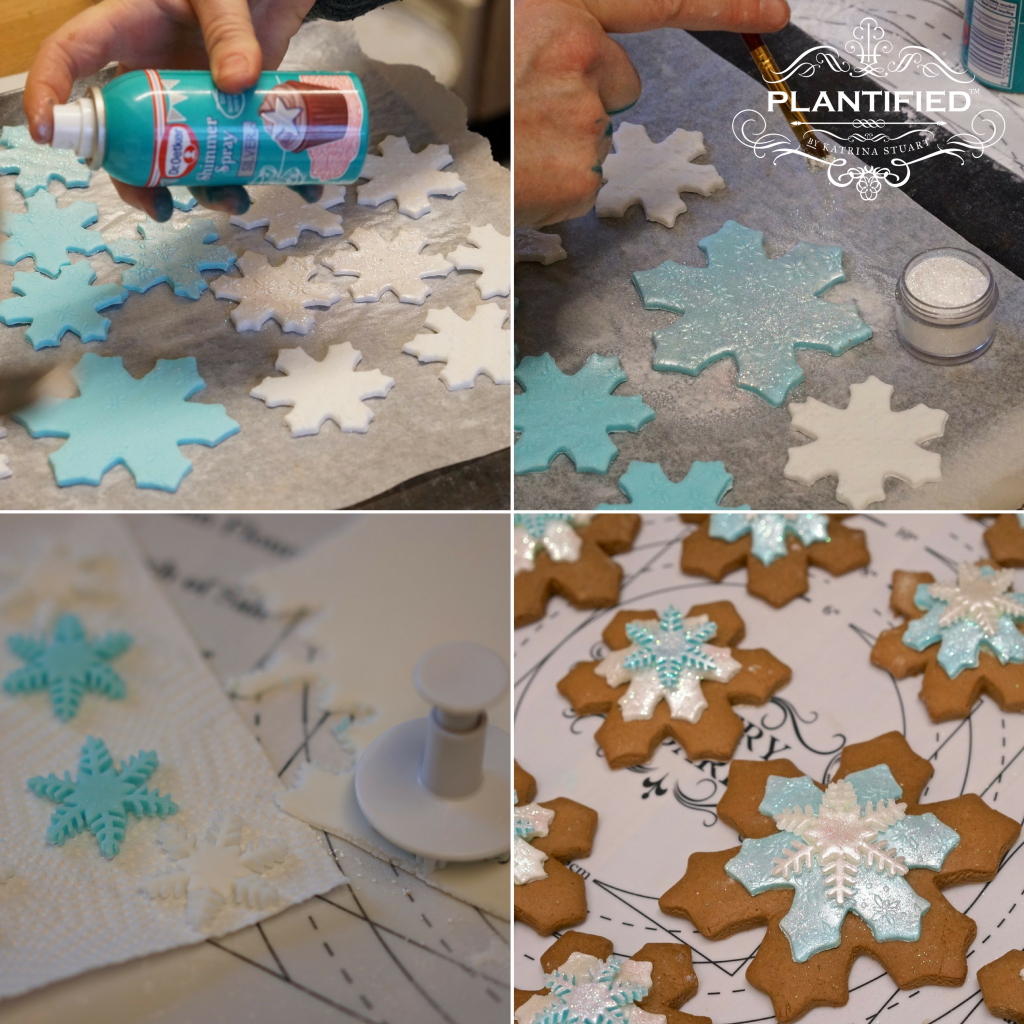
-Take your Snowflake Plunger Cutter and punch out 8 of each colour.
If there is any extra, do a few spare incase you break any!
-I will put mine in the dehydrator for a little while to dry out a bit to make the Decorative Snowflakes easier to handle.
Don’t do this for the Base Snowflakes though, as you want them to be soft.
Adding Shimmer and Glitter:
-Once all the Fondant Snowflakes and Decorations are done, get your Shimmer Spray ready to go.
-Work a few at a time, by spraying lightly with the Shimmer Spray, and then tapping some Cupcake Glitter onto each snowflake using a soft brush.
You want to tap the glitter on whilst the shimmer spray is still wet, so it sticks!
Making the buttercream:
-Place the Vegan Butter/Margarine into a bowl and add the Icing Sugar, and Extracts, along with a tiny dab of colour and mix together until creamy.
-Place the Buttercream into a Piping bag with a small tip, ready to use.
-Use a complimentary flavouring such as Orange, Peppermint, Cinnamon etc.
Putting together the Gingerbreads:
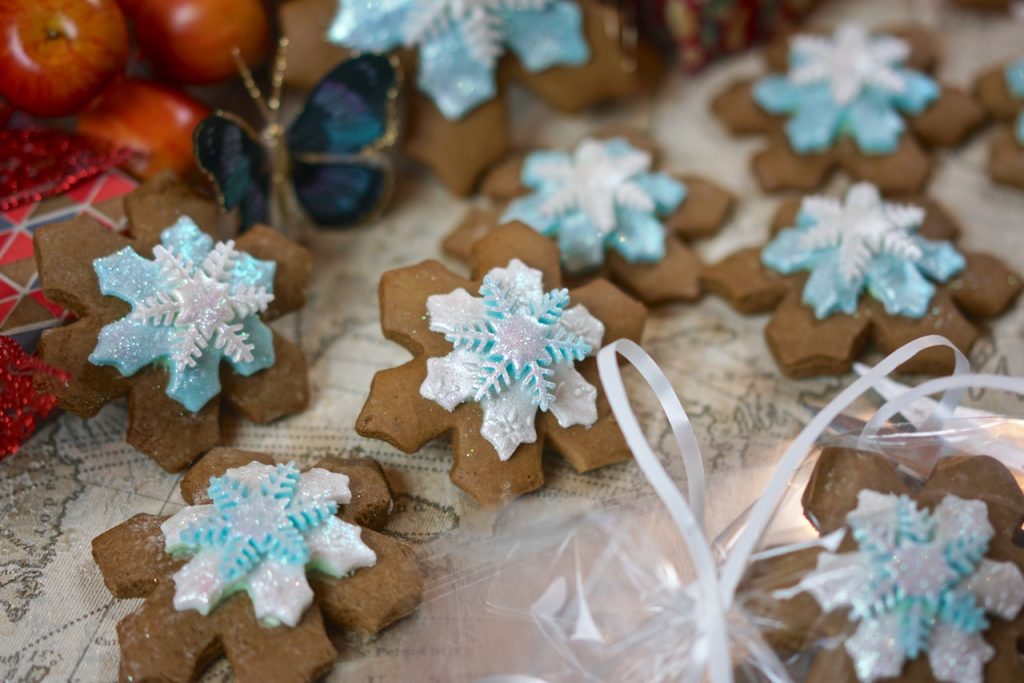
-With the piping bag, pipe a little Buttercream onto the centre of each Biscuit , with a little dot for each arm as shown, and take a large Fondant Snowflake and apply to the cookie.
-Gently Press down around the edges so they stick without flattening it completely.
-If any Buttercream squashes out from under it, use a wooden skewer to sweep around the edge and clean up the buttercream off the biscuit.
-Repeat until all the cookies are done.
-Then, place a pea sized dot of Icing, into the centre of each Fondant Snowflake in order to stick on the Snowflake Decoration.
-Apply the opposite coloured Snowflake to the Fondant Snowflake for maximum contrast.
-Set aside to dry.
-Once packed in cellophane bags and tied up, these will stay fresh and tasty for months!



6 comments-

Adria said on December 22, 2016
Could you please list the ingredient amounts in cups and counts as used in the United States? Takes so long to look everything up and figure it out. I'd be in your debt if you would do that. Thank you so much and MERRY CHRISTMAS and HAPPY CHANUKAH.
-

katrinastuart said on December 22, 2016
There is a reason I no longer do recipes in cups and spoons!
Its just too inaccurate especially when using hydrocolloids such as Agar Agar, Carrageenan , Gellan gum etc.
Even a small amount out will ruin the recipe!
Gram scales are really cheap!
You should get a gram scale!
The benefit to weighing everything, is you can use one bowl and just add to your weight, then zero it back for the next ingredient to weight, without multiple implements used also!
Alot of the recipes i have coming up require precise measurement for success, and so to avoid all of the "I tried this and it didn't work/set/was too firm/too soft" kind of comments, I am providing measurements in Grams.
Working the way i do also, making up each recipe from scratch, I can say 270 grams, but what the heck is that in a cup?
I can't stand recipes that say "One cup plus 2 tsps" etc...it's just annoying!
So hopefully you get why i use scales and why its a good idea to get some :)
This is the exact scale I use...its $7.29 free shipping http://amzn.to/2hMwyy6
This one is cheaper at $2.75 + $2.49 shipping, but I havent tried that one. http://amzn.to/2he0Wkf
-

Alana Miller said on July 28, 2018
These are beautiful! There are many of us that eat plant based with zero oils (the vegan butter) anything we can replace that with?
-

katrinastuart said on July 28, 2018
Hi Alana!
I am now eating plant based with no oil also for my health, which has been fantastic, but it's unfortunate, because my forte is creating evil recipes! :)
However, I make my dogs, dog biscuits, using Buckwheat flour, peanut butter and bananas , by whipping the bananas and peanut butter together, and then adding enough buckwheat flour to turn it into a rollable dough.
It looks just like Gingerbread dough!
I bake them so they go super hard, but they puff up like gingerbread does, and it is my hunch if cut and rolled and baked for a shorter time it will be similar!
I am thinking of having a play with a dough based on Ripe bananas, molasses and flour, Spiced, and see how it comes out.
I am currently avoiding even nut butters at the moment as I need to stay away from the rich fats even if they are healthy ones.
I might give it a go this week with one of the kids and see how it comes out.
As it is, the kids eat the dog biscuits anyway, as they are yummy :)
-

Emma said on December 14, 2018
Hi Alana,
I’ve just been reading this thread and just wondering how you got on with the flour/nut butter/banana recipe? If not, I’d love to try the buckwheat version you make food your dogs. Thinking it is much better as a biscuit, seems simple enough and would use up very ripe bananas which I normally throw away.
-

katrinastuart said on December 14, 2018
Hi Emma
I make them all the time for the dogs and they absolutely love them!!
(So do my kids as they nick them from the jar!)
I just haven't published the recipe yet, but here's a rough guide to what i do.
I start with ripe bananas and put them in my Kenwood mixer bowl and mix until they are smooth and fluffy (you could mask them or use a hand mixer too) , then I throw in a big gob of Peanut butter and keep whipping, then once its mixed up i add a bit of buckwheat flour at a time , until it comes together like a dough that is malleable and firm (like the gingerbread dough!)
Flour the benchtop and roll it out.
it cuts really nicely when its the right texture, and then you can bake it at approx 180c until they brown up and feel firmer.
I take them out and let them cool a bit, then i double bake, as that gets them really nice and crunchy.
I will use cute shapes for the bigger dog biscuits and for training treats I just cut it into 1cm squares with a knife and spread them on a tray.
The dogs seem to like Buckwheat so much, that one even got into a bag of flour and ate some! lol!